How to
3D Print Models
3D print dental models for dental aligner production in seven easy steps with the Ackuretta 3D Printing Solution and boost your digital dentistry workflows.
The Ackuretta 3D Printing Solution is capable of delivering high-volume printing, ideal for thermoforming, by producing precise and accurate models with fine details.
CURO Element Model specially designed for thermoforming, shows no signs of deformation due to temperature or pressure.
3D Printing Workflow for Models
Start by taking a digital impression of a patient's oral structures using a specialized intraoral scanner or a desktop optical scanner. These digital impressions of the teeth, gums, and surrounding tissues will serve as the foundation for designing a dental model.
Following the scan, the data must be processed into a printable file using Computer-Aided Design (CAD) software. In this stage, you can decide whether you'll use a plain model, or a hollowed one. To avoid needing to add supports, remember to add drain holes in the model's base.
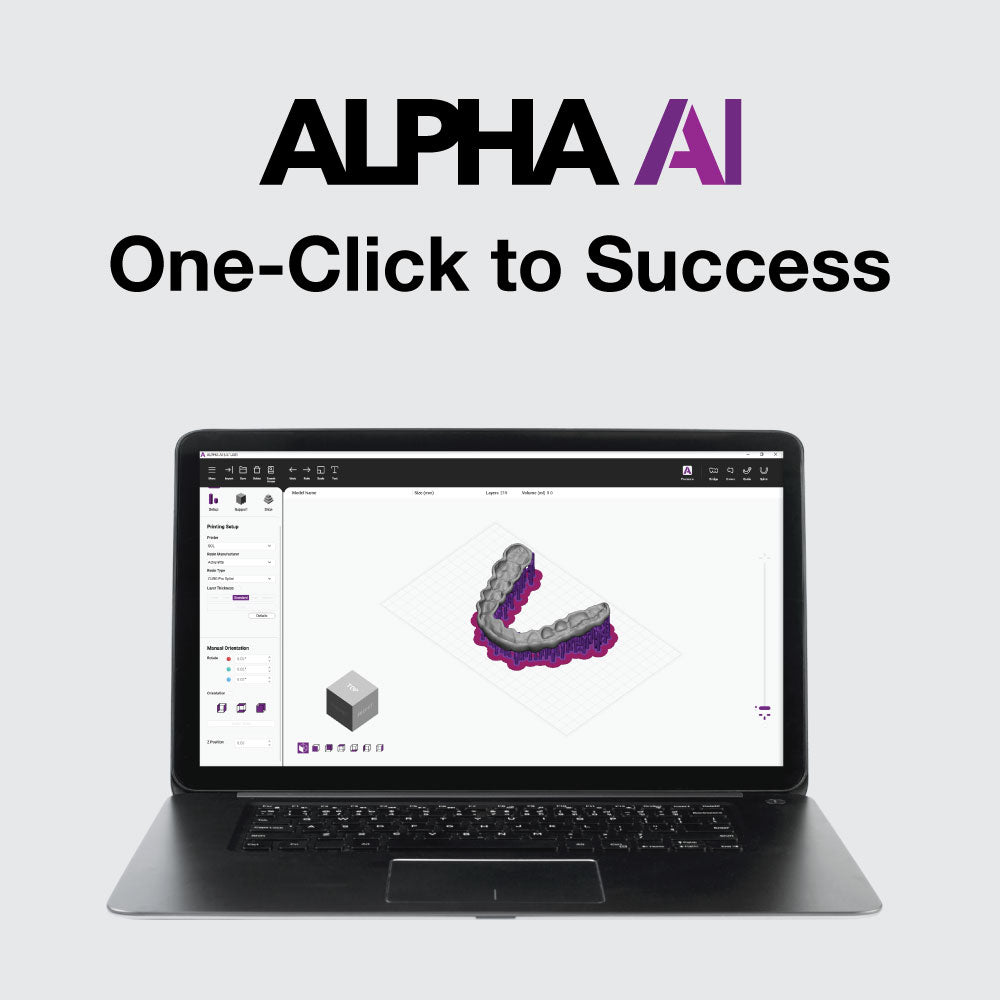
Use a CAM (Computer-Aided Manufacturing) software to prepare the design file for 3D printing - such as our slicing software, ALPHA AI. ALPHA AI Premium offers additional functions such as AI-automated supports, orientation, nesting, and an STL export function.
Prepare the printer by first removing the vat and pouring the thoroughly mixed resin into the vat (shake it for 2 minutes). Secure the build platform and start your model print. The SOL 3D Printer can print up to 8 models (vertically), ideal for aligner production.
Clean your dental models using a washer. CLEANI with Dual Tanks allows for a two-stage cleaning process to save alcohol. Dry your print using compressed air to eliminate excess alcohol before curing. Never keep the print submerged for over 10 minutes!
Proceed to UV-cure the print. The post-curing process completes the polymerization of the print to maintain mechanical strength, and dimensional stability and to avoid uncured resin toxic to human health. CURIE Plus can cure up to 8 full-arch applications at once.
Use a thermoformer to adapt a plastic sheet to the shape of the model using heat and pressure, a machine specially designed for dental applications like aligners, trays, and splints. After cooling, trim and polish the application and refer to the manufacturer to finalize it.

Practice Insights
Ackuretta Webinar:
From Scan to 3D Printing: Dental Model Printing with Dr. Nitish Surathu
Become an expert in model printing. Learn everything about dental model 3D printing with our webinar in collaboration with Dr. Nitish Surathu. Learn how to scan for models, design them, dies and bleaching modles, articulation printing, and more Pro tips.


