Best Practices for 3D Printing in a Dental Office
By Prof. Adam Nulty

The use of 3D printing technology in the dental field has been steadily increasing in recent years, with many dental offices adopting this technology to streamline their workflows and improve patient care. From creating customized dental models for patient education and treatment planning, to fabricating custom crowns and implants, 3D printing offers a wide range of benefits for dental practices.
As with any technology, however, it is important to follow best practices to ensure optimal results and avoid potential issues. In this article, we explore the best practices for using 3D printing in a dental office.
First, let's start with the basics – What is 3D printing, and how is it used in dentistry?
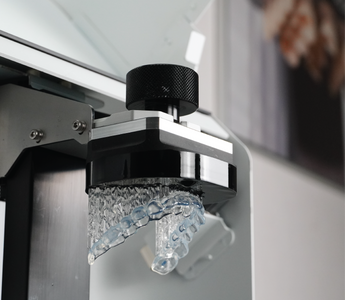
Simply put, 3D printing is the process of creating a physical object from a digital model. This is done by building it up layer by layer, using a variety of materials such as plastics, metals, and even food. In the dental field, 3D printing is primarily used for creating dental models, fabricating custom crowns and implants, and producing surgical guides using liquid resin that becomes solid through a process of polymerization.
One of the main benefits of 3D printing in dentistry is the ability to create customized and complex objects – such as patient-specific surgical guides or implant abutments – which may not be possible using traditional manufacturing methods. This can improve the accuracy and efficiency of dental procedures, as well as provide a better patient experience by reducing the need for multiple visits or adjustments.
So, how do you get started with 3D printing in your dental office?
The first step is to create a digital model of the object you want to print. This can be done using a variety of methods, including 3D scanning or taking a physical impression and then scanning it to obtain a digital 3D model.
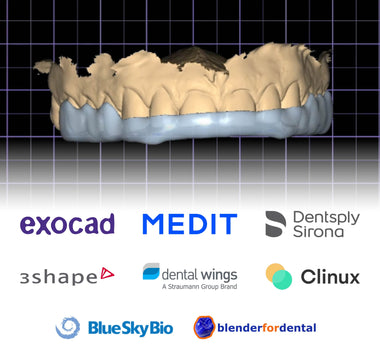
3D scanning involves capturing the physical dimensions and geometry of an object using specialized equipment, such as a laser scanner or structured light scanner. Companies such as Medit and 3Shape design and manufacture these scanners. This allows you to create an accurate digital representation of the object, which can then be used as a starting point for further customization or modification.
CAD involves creating a digital model from scratch using specialized software, which allows you to design complex and intricate objects that may not have been captured during the scan of the patient’s mouth or of a traditional impression model. This method is more time-consuming, but it provides greater control and flexibility in the design process.
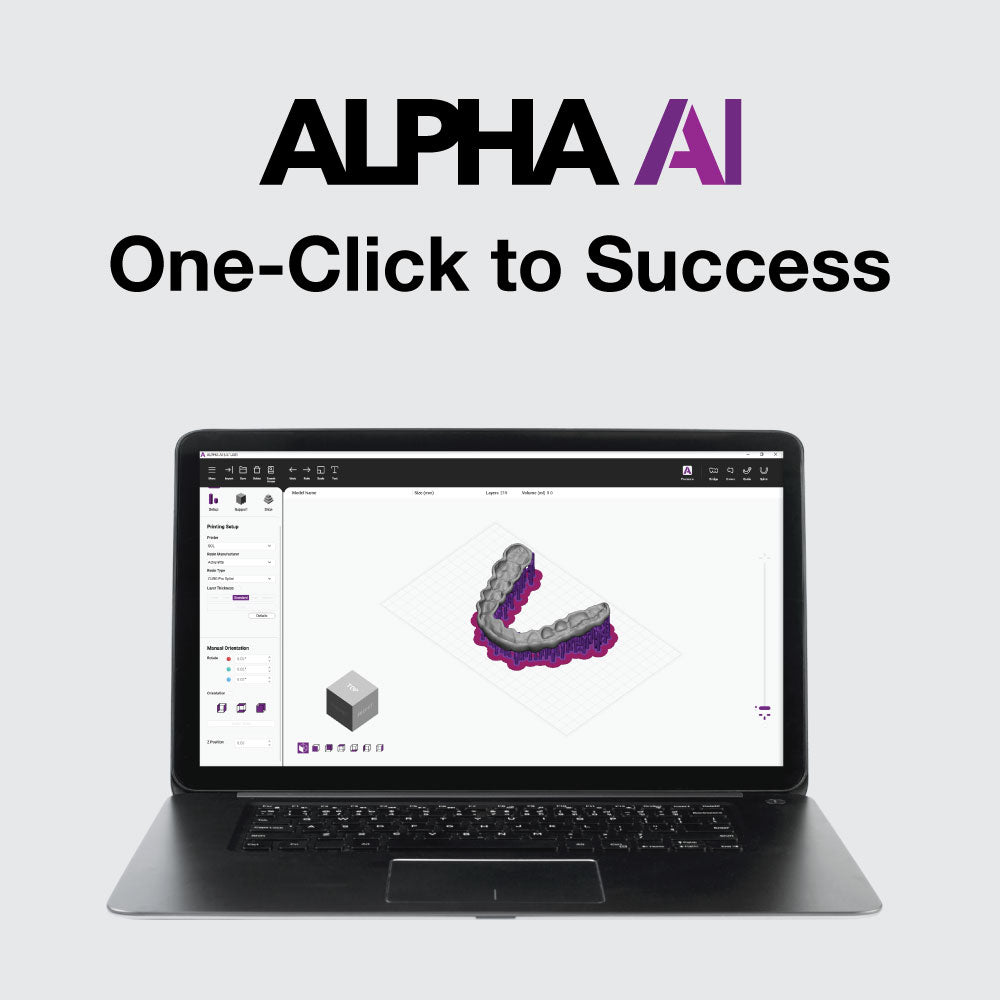
Once you have your digital model, the next step is to prepare it for printing. This involves "slicing" the model into thin layers and generating the printer instructions, or "G-code," which tell the printer how to build the object layer by layer. This can be done using specialized slicing software, such as ALPHA AI.
Once the model is sliced and the G-code is generated, the final step is to load the instructions onto your printer and start the print process. This can be done using a variety of methods, including connecting the printer to a computer via USB or transferring the files wirelessly.

Now that we have covered the basic process of going from scan to 3D print, let's delve into some best practices for using 3D printing in a dental office.
Choosing the right printer and materials
When it comes to choosing a 3D printer for dental applications, it is important to consider the resolution, accuracy and precision of the printer. Dental models and other objects created with 3D printing are often used for diagnostic and treatment planning purposes, so it is important to have a high level of detail, in some cases up to 50 microns or less. Additionally, it is essential to choose materials that are biocompatible and have the appropriate mechanical properties for the intended use. For example, materials used for surgical guides or implant abutments need to be strong and able to withstand the forces of the procedure, while materials used for models or custom crowns may need to have a more realistic appearance and texture.

Printer Calibration
Some printers require regular calibration by the user – adjusting the printer’s hardware and software settings to ensure optimal performance – to prevent issues such as misalignment, dimensional inaccuracies, or failed prints. Others, such as Ackuretta’s 3D Printing Solution, are already pre-calibrated, and require no additional adjustments by the user.
More Best Practices
There are several other best practices to keep in mind when using 3D printing in a dental office. These include:
- Properly maintaining and cleaning the printer and equipment – This can help to prevent issues such as clogged nozzles, extrusion problems, or contamination of the prints.
- Using appropriate ventilation – 3D printing can produce fumes and particles that may be harmful if inhaled, so it is important to use proper ventilation to protect yourself and your staff.
- Ensuring proper sterilization – If 3D-printed objects will be used in patient care, it is important to follow proper sterilization protocols to prevent the spread of infection.
- Storing and handling materials properly – It is important to store materials in a dry and dust-free environment, and to handle them with care to prevent contamination or damage. Additionally, some resins can be extremely harmful while still in resin form, so it is important to use proper personal protective equipment when handling these materials.
- Properly design and prepare your digital models – Make sure you design and prepare your digital models properly to ensure that they are suitable for 3D printing. This may involve testing the models on a printer with a lower resolution or using the "print preview" function to identify any potential issues.
By following these best practices, you can ensure the successful and safe use of 3D printing in your dental office, and take full advantage of the benefits this technology has to offer.
For full training courses on 3D printing and to learn these best practices hands-on with the International Digital Dental Academy, visit www.digitaldentalacademy.ac.uk.
About the Author
Adam Nulty
Adam Nulty is a guest contributor for Ackuretta. Known as the “Digital Dentist”, Adam is a highly experienced clinician with a special interest in Restorative and Aesthetic Dentistry, Digital Dentistry and Implantology. Holding a Master of Science with distinction in Restorative and Aesthetic Dentistry from the University of Manchester, and currently pursuing a Ph.D researching guided implantology at Leeds University, he is a lecturer for Manchester University, and sits as Course Director for the MSc in Digital Dentistry with the College of Medicine and Dentistry, Birmingham. He currently holds the position of President of the International Digital Dental Academy.







 Loading ...
