 Loading ...
How Does AI-Driven Slicing Software Work?
In the field of digitial dentistry, advancements in areas such as AI and CAD/CAM software have supported dentists in creating more efficient workflows and more positive patient experiences. But how do all these technologies really work? Take a look behind the scenes at how AI-driven slicing software brings a digital image into 3D reality.

When it comes to a 3D printing workflow, there are many complex steps that a dental professional must implement correctly in order to get a successful print – one that is safe and accurate, and that meets the needs of the patient and dentist.
But when digging deeper, the complexities of these 3D printing systems can be overlooked and taken for granted. Understanding the technology dental professionals are using – such as CAD and CAM software, and artificial intelligence – allows them to work with greater confidence and appreciation for how innovative and advanced these technologies truly are.
With the recent progress in technology and software, it is important to better grasp how this technology works. This article addresses an important question about the digital workflow:
How does slicing software work?
In the following sections, we will explore what place slicing software has in the workflow, what different elements it consists of, how the technology works, and what benefits it can bring – to dentists, technicians, and patients. This knowledge will empower dentists and lab technicians to be even more self-assured in their delivery of dental care.
What happens before importing a file into your slicing software?

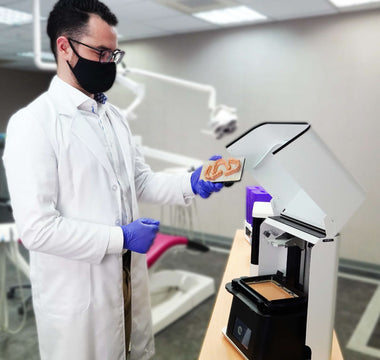
Before a print can be imported into slicing software, it must first be designed using CAD software. This design step allows you to create the exact application that a lab tech or dentist wants for the patient. This step takes place after the doctor has a scan of the teeth, either by using an intraoral scanner, or taking an analog print and then using a desktop scanner to import the image into the CAD software.
Using slicing software is the third step in the workflow, after scanning a patient’s mouth and designing the print with CAD software.
What happens once you import your STL file into slicing software?
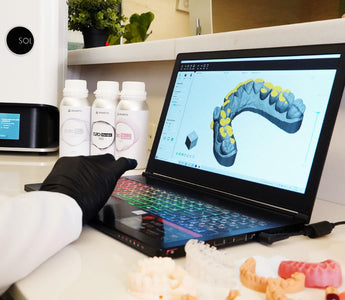
The design created in CAD software is the object you want to print and ultimately use for whichever application you choose – it is then imported as an STL file into your slicing software. But the process of making that design a reality is more complicated than simply sending it to the printer and pressing print. While the most complex step in the process – designing – is complete, the application must still be set up properly, to ensure a successful print. If this process is done incorrectly, it will result in a failed print, which means that additional time and resources must be spent to re-do the print correctly, and get the desired output.
This set-up is done by choosing the correct application, printer and resin, and then selecting a proper orientation and creating appropriate supports in your slicing software – some AI tools that can now assist with these steps. If more than one application is being printed, they should be stacked and nested in a way that makes the most efficient use of space.

Orientation and Supports
How you orient and create supports for your print is essential. Because of factors such as gravity, peeling force and floating islands, if the print is not positioned correctly, there is a risk of producing a distorted or failed final result.
Correct orientation will depend on what application is being printed. To learn more about correctly orientating your prints, you can check out video tutorials such as this one for models.

When placing supports, careful attention must be paid to where they are placed. They should be on the side of the application where precision is least crucial. Precise support setting is critical with regards to both aesthetics and stability. It is essential to place them on the occlusal side, which will face the build platform as thickness will be the highest in this area, and polishing and staining will provide the required esthetic. Crowns, bridges, and all other applications must be fitted perfectly – to within 100 μm – therefore no supports should be placed on the margins or inside the crown, as any polishing would lead to an imprecise fit.
Because the margins are where the application will connect to the gums, any errors will result in discomfort on the patient, and a poor fit of the application – which in turn will require the patient to return to the clinic for additional repairs or care. In addition, the cement that secures the crown to the abutment must be exactly correct, otherwise there will be problems for the patient.
This video explains possible reasons that a print could fail.
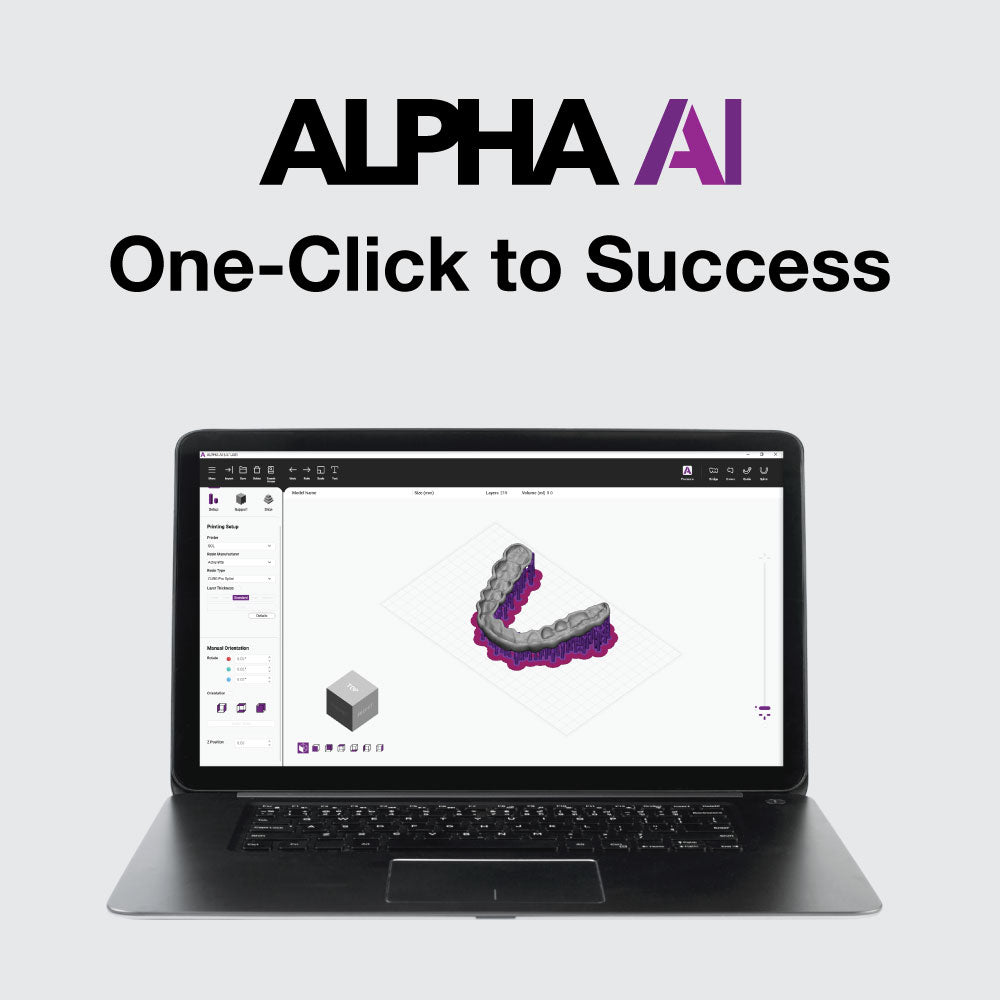
AI-driven slicing software, which is becoming increasingly available on the market, can automatically determine the optimal orientation of your print, and design supports that will allow for a successful print. This new feature helps to eliminate any guesswork on the part of the dental professional, and also allows for a much faster workflow.

Software, like Ackuretta’s Alpha AI, will be launched later this year, and will be equipped with AI-assisted orientation and support features that allow you to create these at the click of a button. You can keep up-to-date on the future launch here.
What exactly is ‘slicing’? And why do you need to slice your print?
The term ‘slicing’ refers to the breakdown of your 3D print into many 2D layers, or slices. Each layer is saved in the form of an image, which turns on specific pixels of the LCD screen in the printer. The UV light travels through those pixels, and cures the resin onto the build platform, or the previous layer of resin.
This article explains how LCD technology works.

Once your final design – including the adjusted orientation and supports – is ready, it needs to be saved and put into a format that the printer understands, to print the final result. With Alpha 3D, the design will be sliced and then saved in two different file formats – an .ibf and an .i3dp file. The .ibf contains the photographs of each layer that your print will need – this is the print file, that will be sent to the printer. The .i3dp file saves the project, in other words all the data that you have input into Alpha 3D – including placement on the build platform, information about the printer and resin selection, and orientation and supports.
The number of images that will be contained in your .ibf file (the file format exported to the printer) is equivalent to the number of layers your print has. Depending on the layer thickness of your print, you will have more or fewer layers – the finer the layers, the more layers will be required for any given print. The thickness of each layer determines how the print will be sliced, and how long it will take. Fewer (thicker) layers results in a faster print. Conversely, finer layers result in a longer print time. But the finer the layer, the better the z resolution, which means the final output will have finer details and a smoother surface.


Slicing software allows the user to orient, generate supports, and then slice the image so that it can be printed. In essence, the 3D result is created by stacking many 2D layers on top of each other.
Benefits of AI-Assisted/Driven Slicing Software
For Dentists and Clinics
For Labs
For Better Patient Care
Some dentists may not have the specific knowledge about how to create the supports or do the orientation correctly. The icons that have AI orientation and support generation are extremely helpful. It allows dentists to orient, support, and slice their print, without the need for any additional training.
For many lab technicians, AI-assisted software will save them time – they have the knowledge to create supports and orient the print appropriately, but using the AI features is faster. Labs can additionally benefit from the STL file export feature. If they have several machines, they can make the product on one computer, do all the slicing there, and then can send it to all the other machines for printing.
This new technology can deliver faster results for patients. It is also safer – while sometimes it is possible to optimize a print, with the AI features they are guaranteed to have a print that will work and will not fail. Clinicians don’t need to have any education on specific slicing software – there are no additional options that might lead to mistakes. Patients will get a result that works and fits on the first go – giving them an excellent and efficient result.
If you want to know more about Ackuretta, slicing software, and stay in the loop about when our new AI-assisted software – Alpha AI – will be launched, subscribe to our monthly newsletter – Ackuretta Insights – here.